
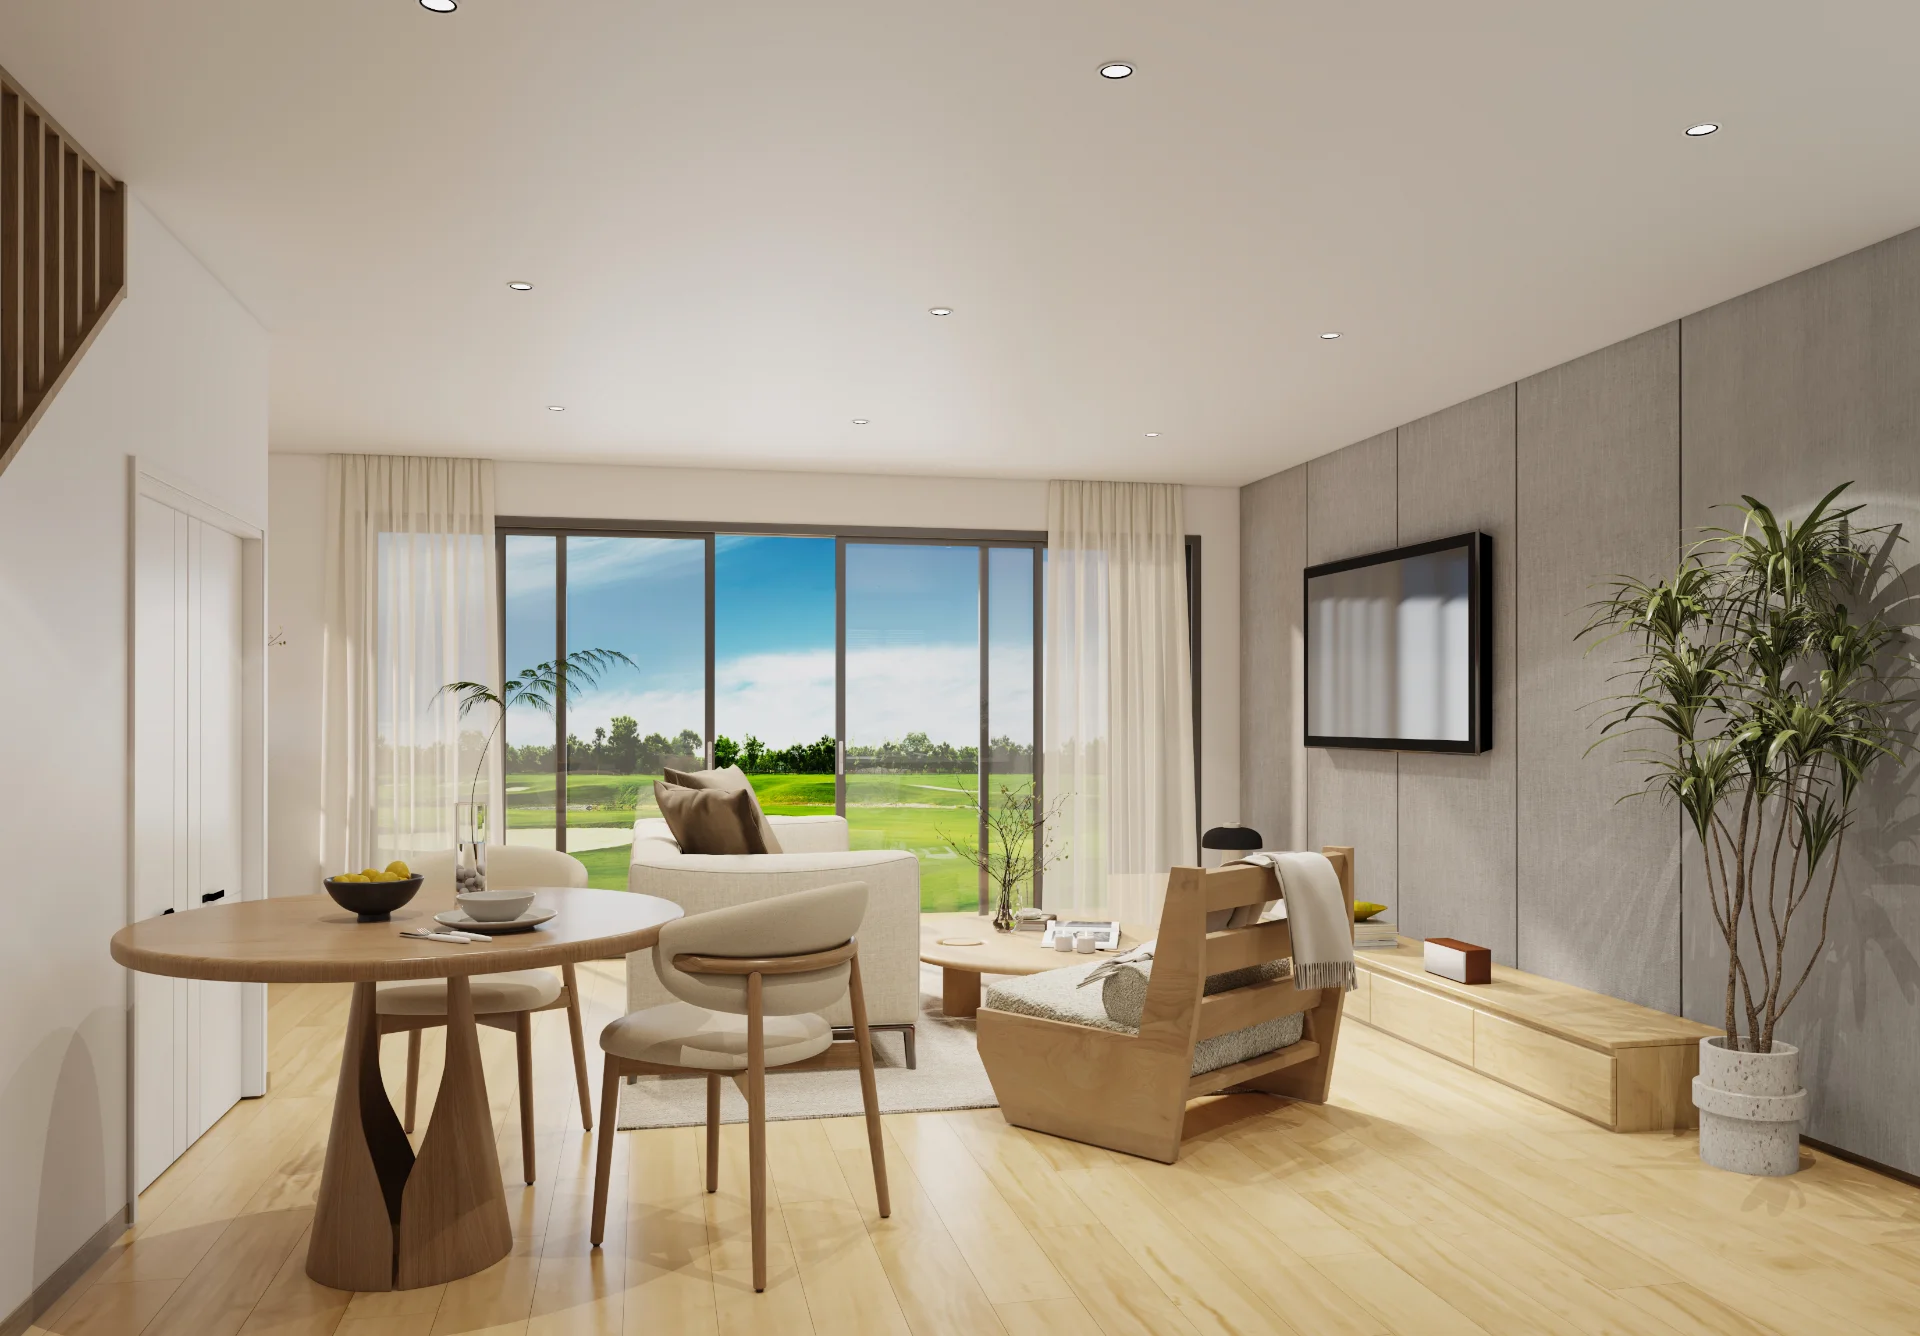
The Location
1
1
67m2
67m2
Smart, Profitable, and Low-Maintenance Investment.
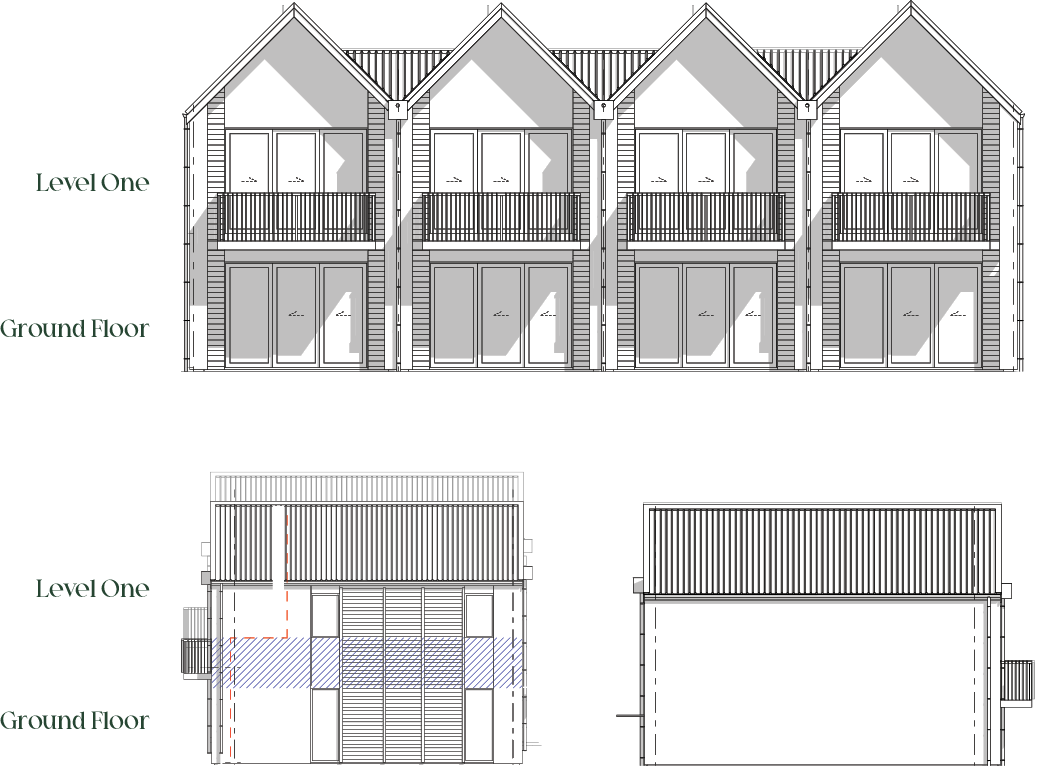
Designed specifically for the modern traveler, corporate visitors, and short-stay tourists flocking to Cromwell and the wider Queenstown-Lakes region. Blocks A and B maximize your footprint and rental versatility by offering independent, self-contained studio spaces across two levels.
Investor Note: The studio layout is the sweet spot for short-stay tourism—yielding high nightly rates with exceptionally low overhead and maintenance costs.
Maximised Revenue Streams: Rent the floors independently to double your booking consistency or target distinct customer profiles simultaneously.
Intelligent Layout: Individual, premium studio layouts spread across two distinct floors.
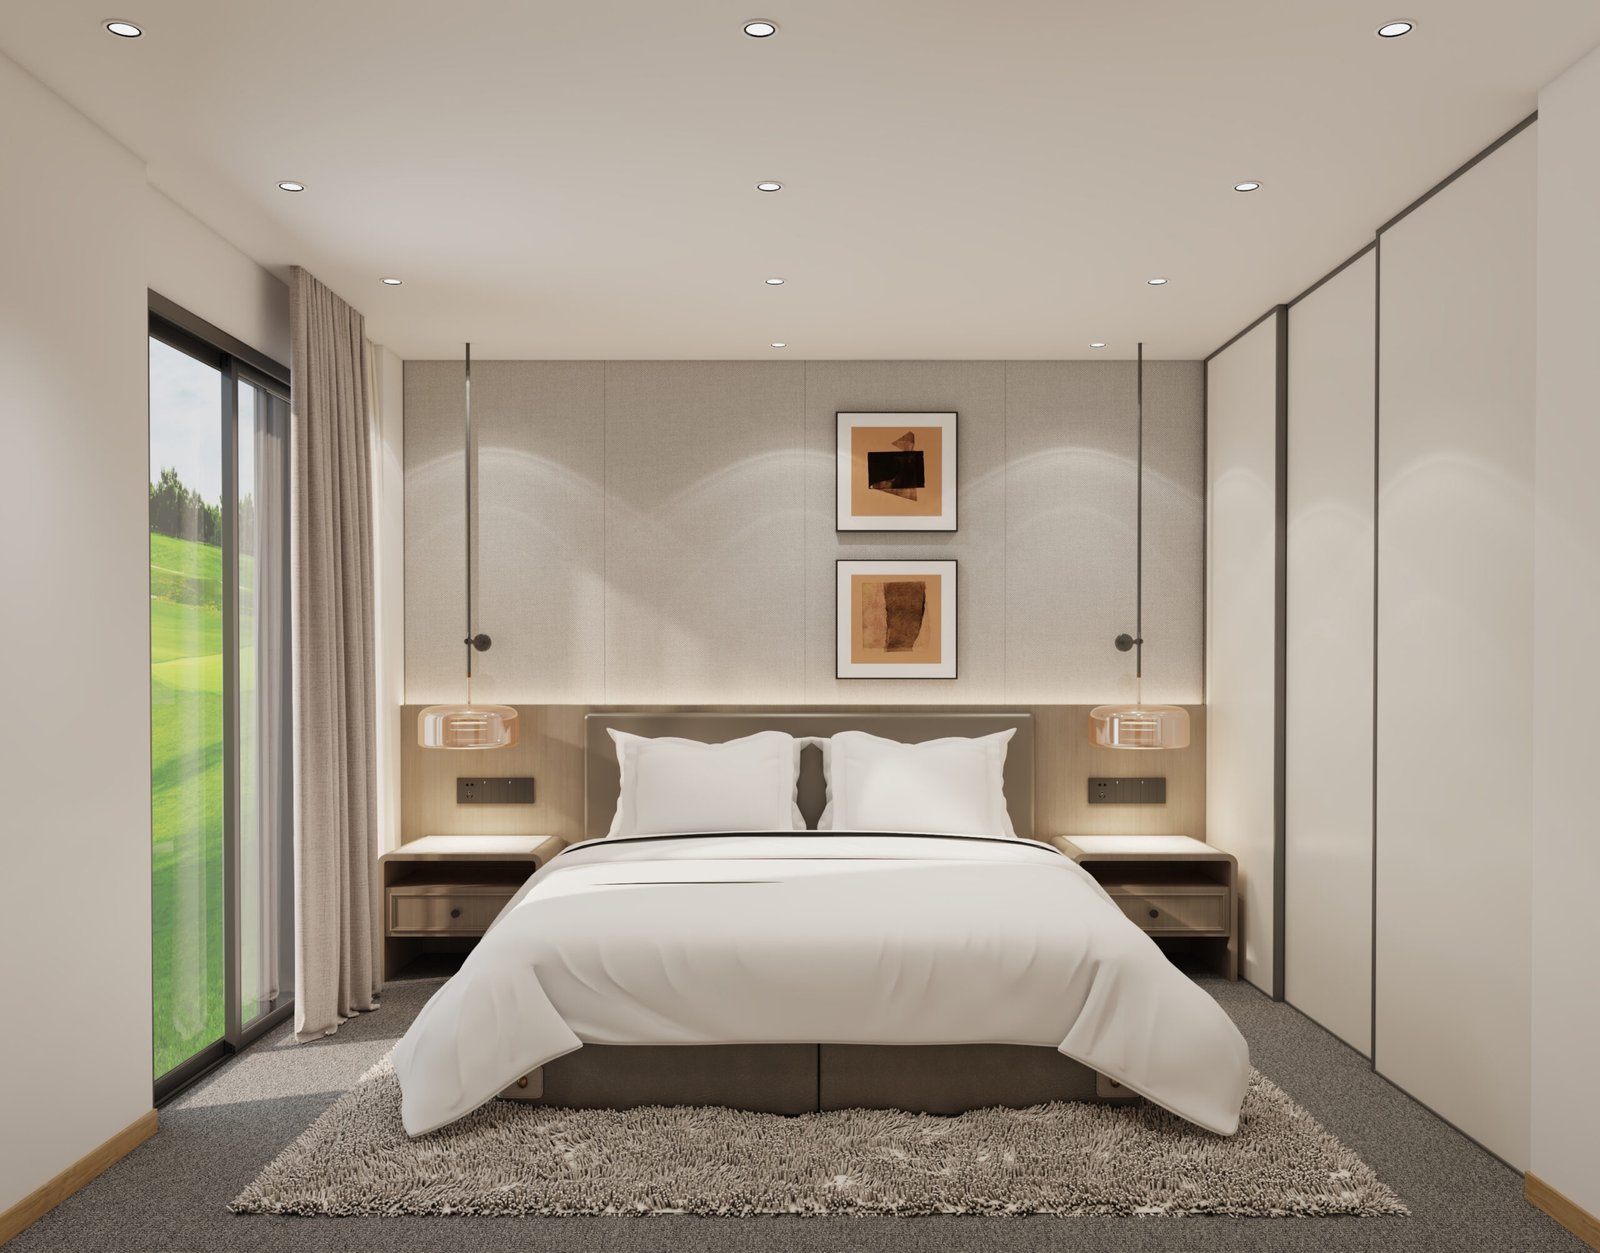
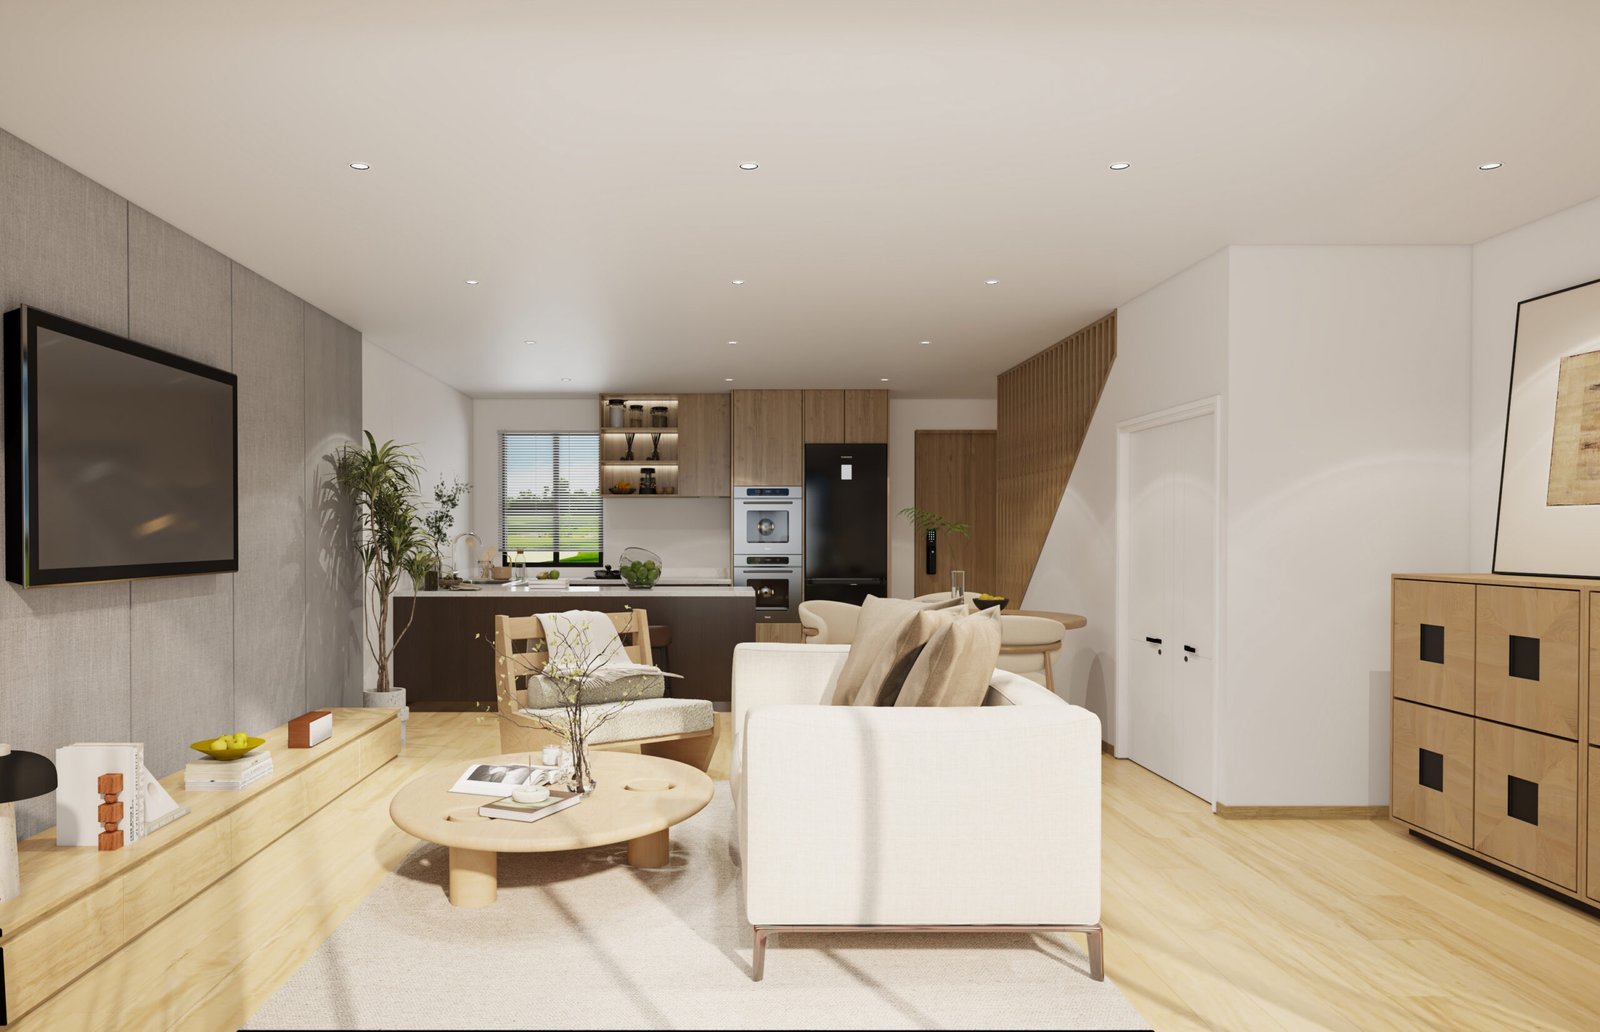
Guest-Centric Comfort: Every studio features a highly functional open-plan living and bedroom space, a sleek contemporary bathroom, and dedicated kitchenette facilities.
Turnkey Efficiency: Low-maintenance materials, acoustic-rated privacy walls, and smart layouts mean minimal downtime between guest changeovers.
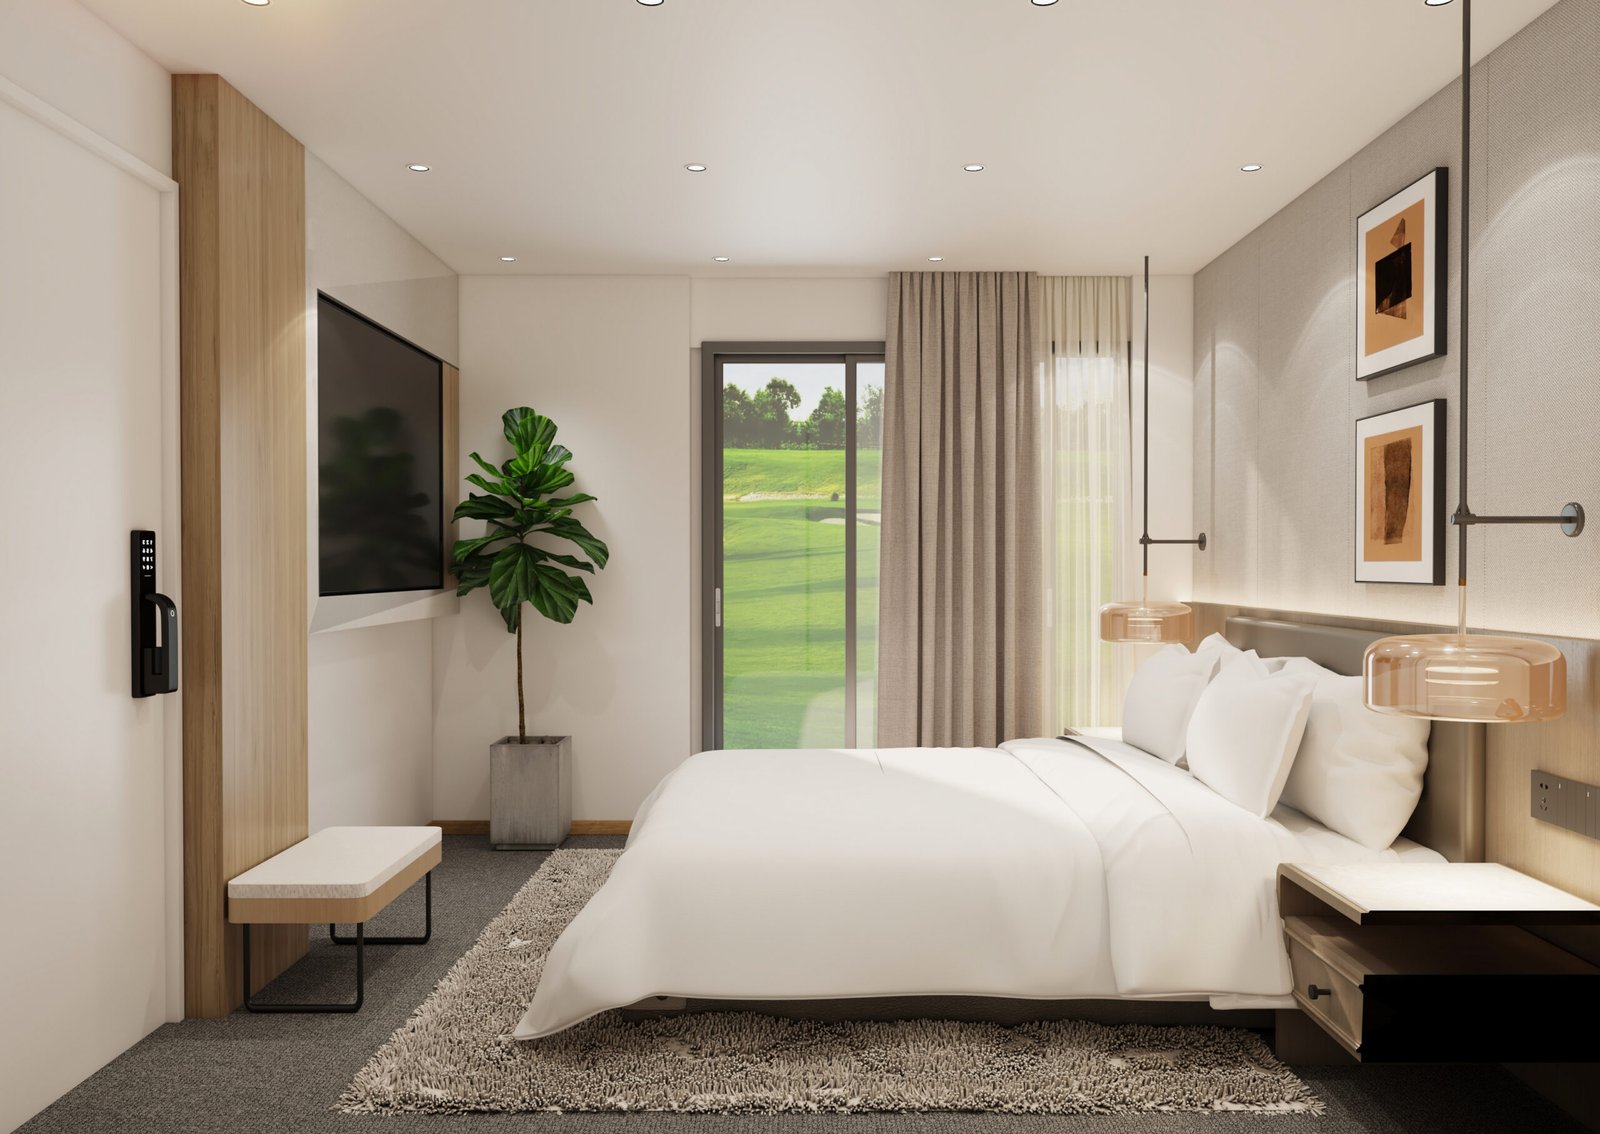
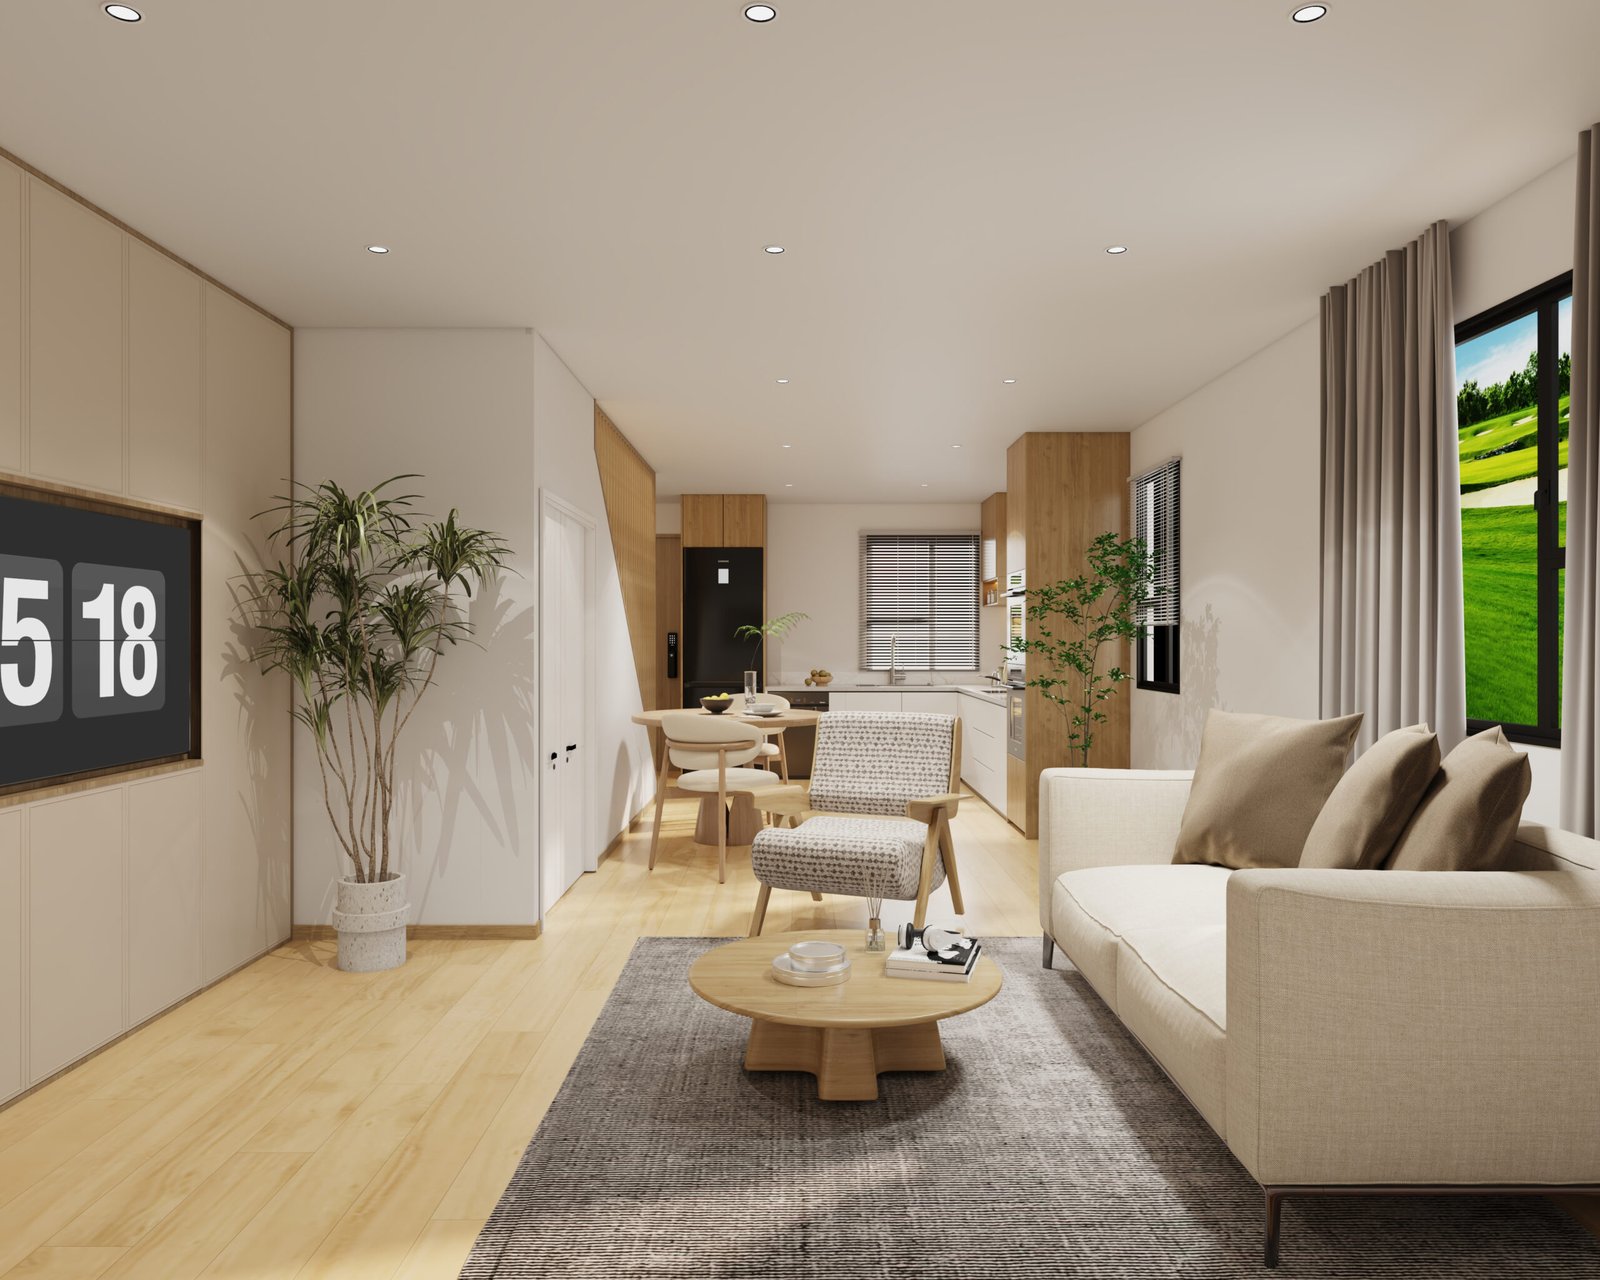
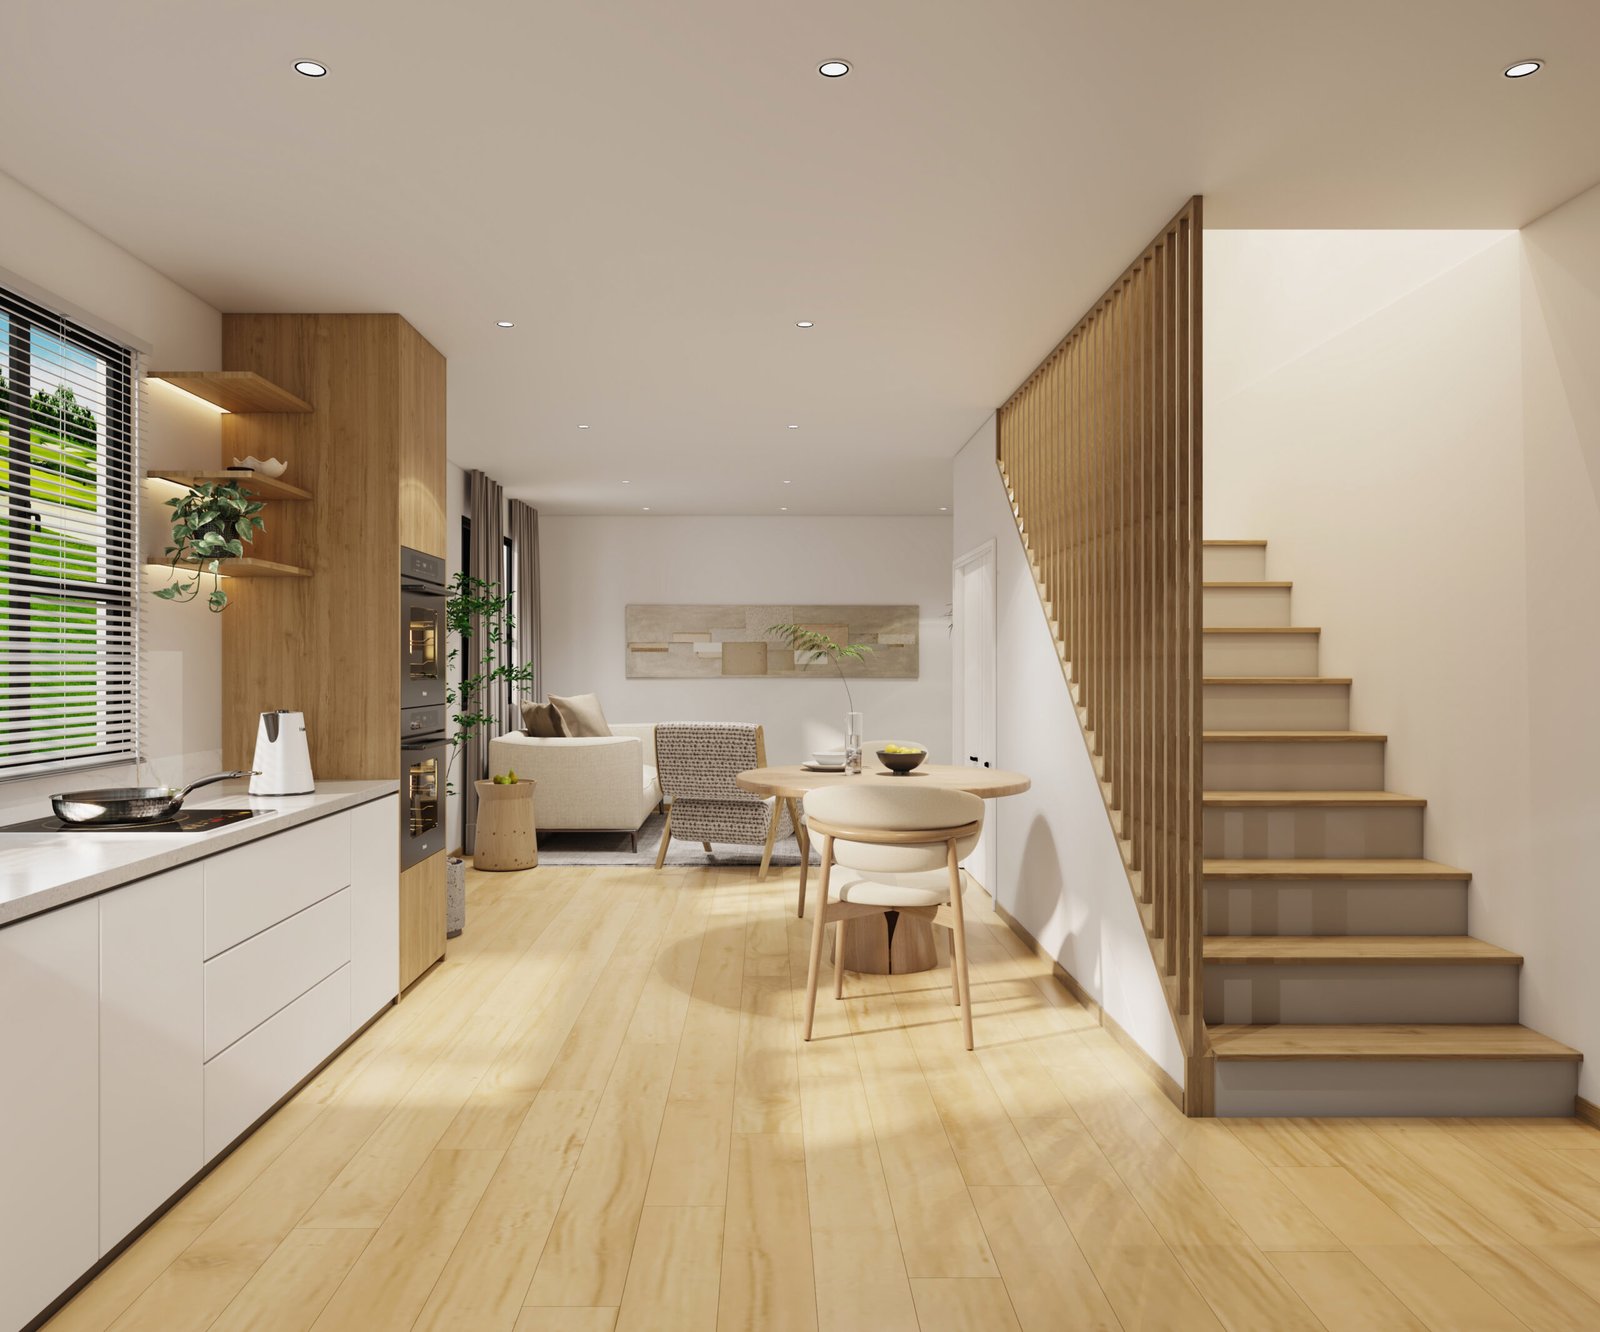
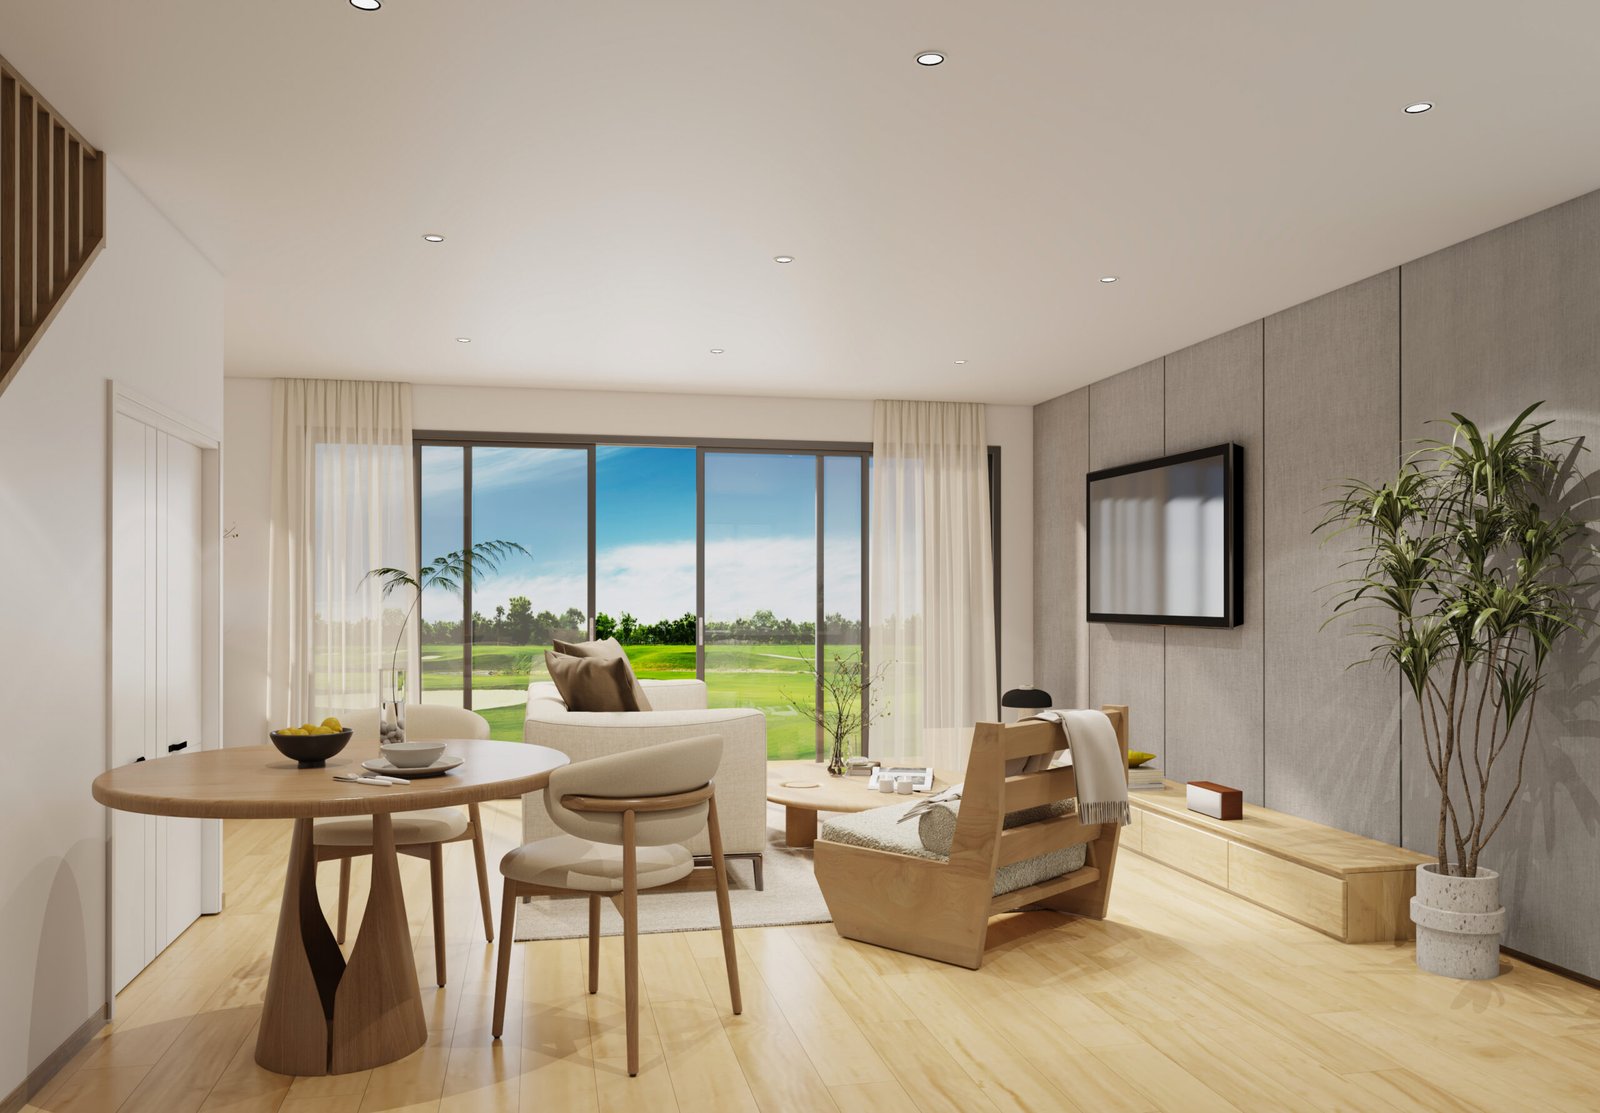
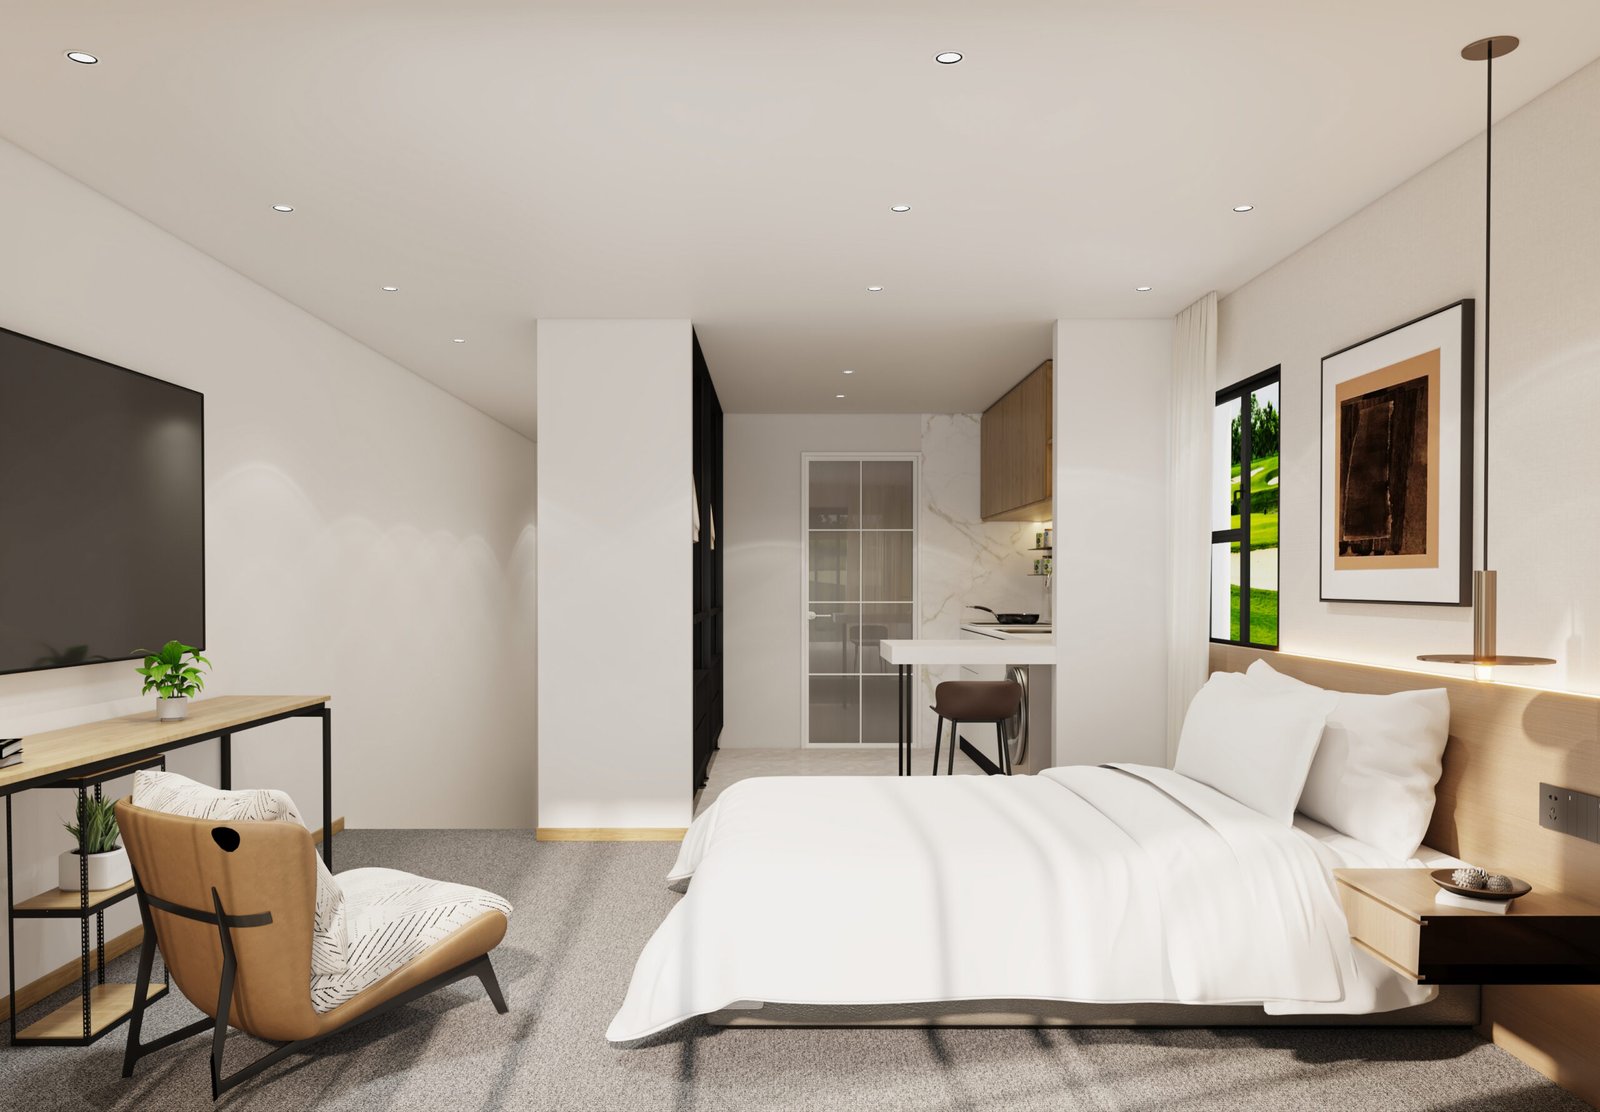
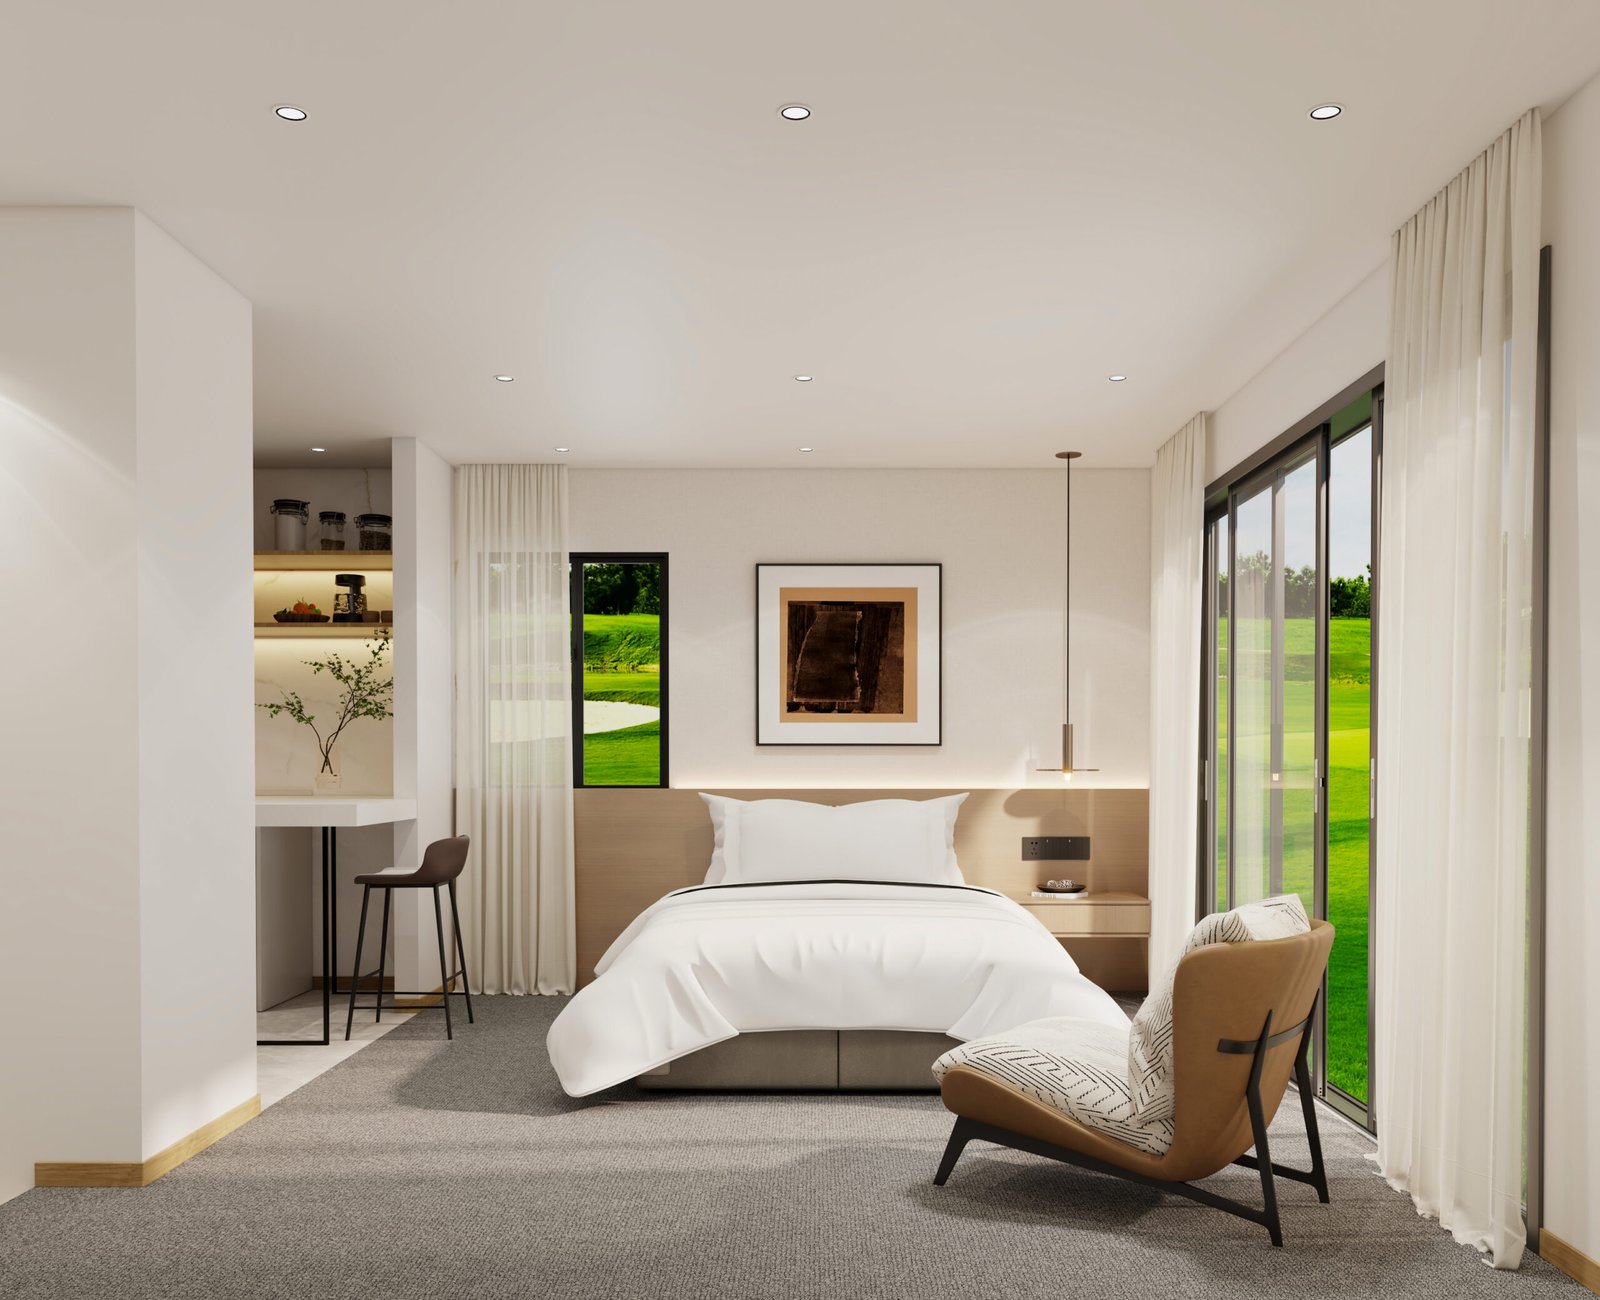
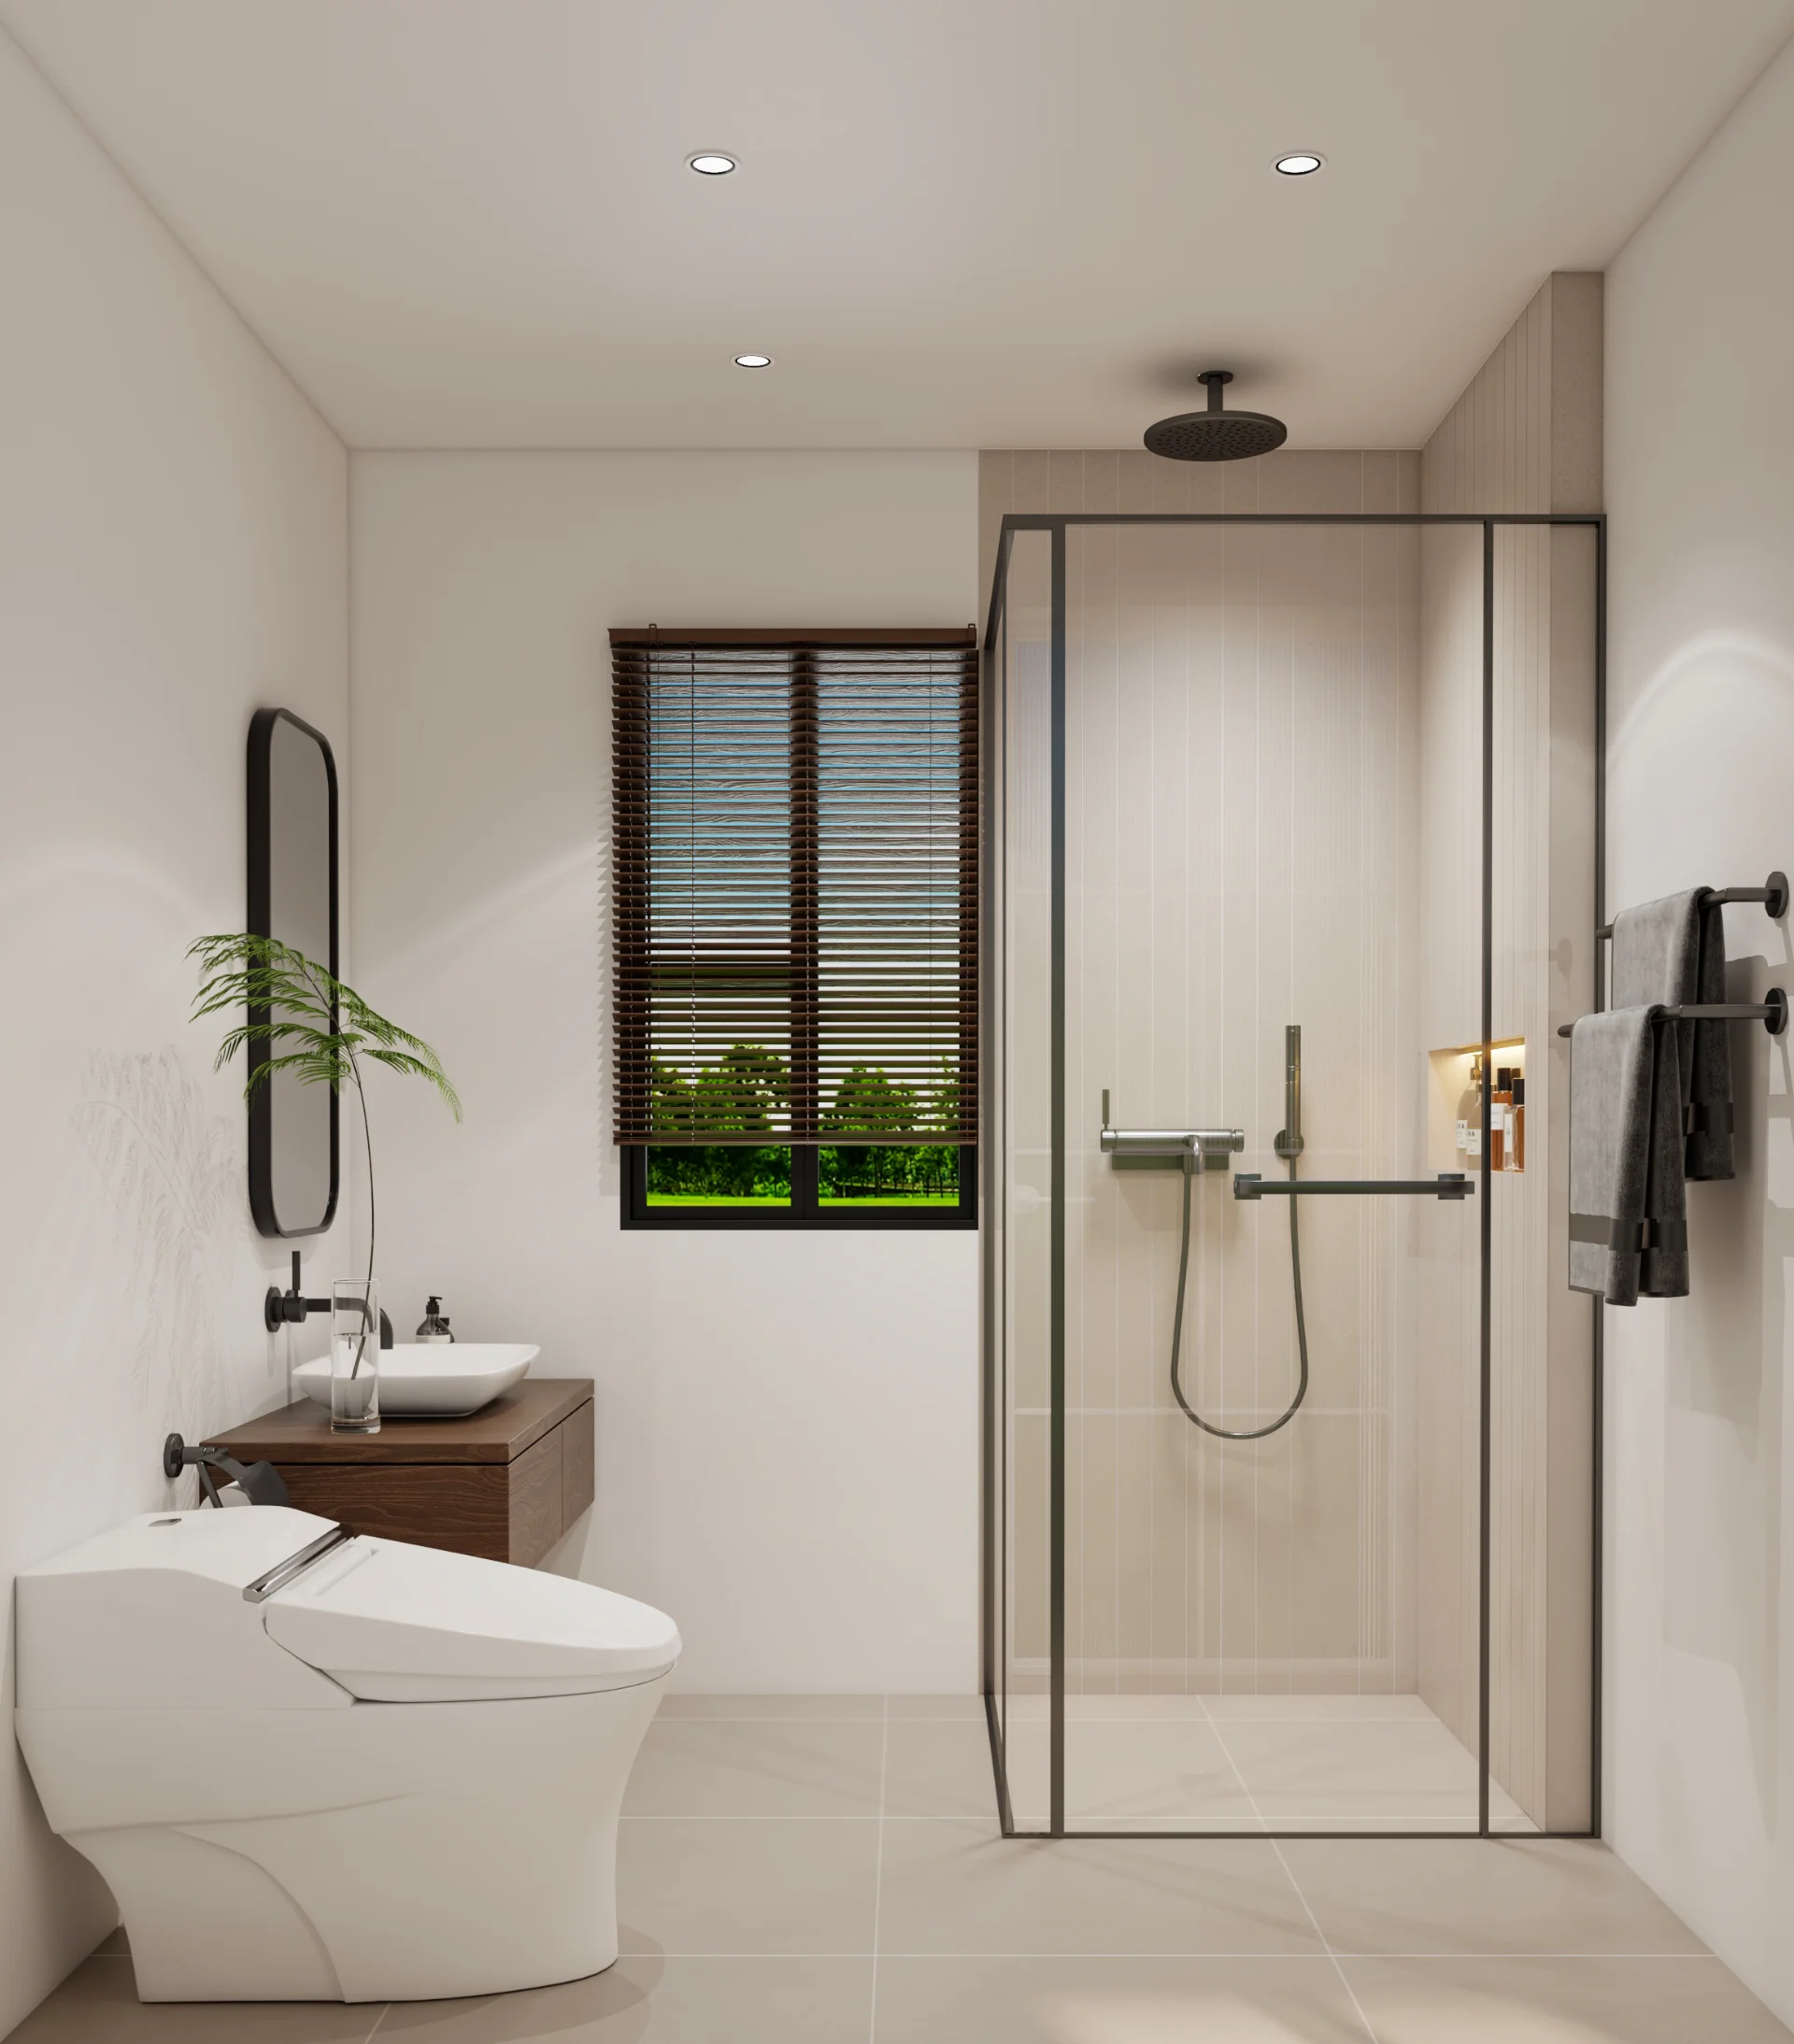
The interior palette for 3 Mead Avenue is designed to complement its rugged Cromwell exterior, bringing warmth, refined texture, and alpine comfort indoors. Every surface is selected for both its aesthetic appeal and its ability to withstand the dramatic seasonal shifts of Central Otago.
Features
Availability
Every space mindfully considered, every detail consciously crafted, the 3 Mead Avenue residences offer elevated living for those seeking the very best of the vibrant Cromwell basin.
Raw sculptural materials—anchored by Central Otago stone veneer, architectural timber, and premium metal finishes—ground the design within its semi-arid landscape while providing a striking, modern contrast to its graphic form. Expansive windows and carefully oriented glazing flood the homes with the region’s famed year-round sunshine, capturing the intense alpine light and framing sweeping views of the surrounding Pisa Range, local vineyards, and the rugged hills of the Kawarau Gorge. Throughout, glimpses of the vast blue skies and dramatic mountain backdrops are captured through ingeniously placed windows and skylights, ensuring optimal privacy is maintained while keeping you profoundly connected to the heart of Central Otago.
| Studio 1 | GFA | Lot Area | Availability |
|---|---|---|---|
| Studio 2 | 450m2 | 688m2 | Available |
| Studio 3 | 450m2 | 657m2 | Sold |
| Studio 4 | 450m2 | 633m2 | Sold |
| Studio 5 | 450m2 | 613m2 | Available |
| Studio 6 | 450m2 | 599m2 | Sold |
| Studio 7 | 450m2 | 567m2 | Sold |
| Studio 8 | 450m2 | 567m2 | Sold |
| Studio 9 | 450m2 | 554m2 | Reserved |
| Studio 10 | 450m2 | 567m2 | Sold |
| Studio 11 | 450m2 | 540m2 | Reserved |
| Studio 12 | 450m2 | 567m2 | Sold |
| Studio 13 | 450m2 | 567m2 | Sold |
| Studio 14 | 450m2 | 567m2 | Sold |
| Studio 15 | 450m2 | 567m2 | Sold |
| Unit 8 | 450m2 | 567m2 | Sold |
| Unit 9 | 450m2 | 567m2 | Sold |
| Unit 10 | 450m2 | 567m2 | Sold |
| Unit 11 | 450m2 | 688m2 | Available |
| Unit 12 | 450m2 | 567m2 | Sold |
| Unit 13 | 450m2 | 688m2 | Available |
| Unit 14 | 450m2 | 567m2 | Sold |
| Unit 15 | 450m2 | 688m2 | Available |
| Unit 16 | 450m2 | 567m2 | Sold |
| Unit 17 | 450m2 | 688m2 | Available |
| Unit 18 | 450m2 | 688m2 | Available |
| Unit 19 | 450m2 | 540m2 | Reserved |
| Unit 20 | 450m2 | 540m2 | Reserved |
Enquire
Whether you are planning a peaceful getaway, a family retreat, or simply exploring Quail Ridge, our team is here to assist you.
Ellen Loke
Business Owner
- +64 21 155 4682
- ellen@quailridgeresort.co.nz
-
3 Mead Avenue, Cromwell,
New Zealand, 9310
